Concord and 9th Ornamental Bundle: Using Large Dies
Happy Friday!
I'm here today with cards made using Concord and 9th's new Ornamental Bundle, which has a beautiful stamp set and coordinating dies. My post today focuses on how to use the large ornament die, and using the stamps as accents, but the stamp set can also be used beautifully on it's own.
To me, large ornate dies are super pretty but also can be a bit tricky to work with. They almost cover up the whole card, so arranging and designing the card either becomes deceptively easy or a little confusing. But they're honestly really awesome with a few different strategies.
The first option is the most obvious - don't be afraid to put it right in the center. In fact for this card I did something I almost never do: didn't use a sentiment on the front of the card. To me, it's pretty clear it's a Christmas card and the die is so ornate that it doesn't need much else.
I made this card by first die cutting the ornament with all the inside elements from a paper that I marbled myself (any patterned paper would work for this!). I then just die cut the ornament shape from gold glitter paper and adhered them together. I also die cut the ornament topper from the same gold glitter paper to finish it off.

At first, I had stamped "Merry Christmas" in black letters on the ornament itself because I couldn't imagine a card without a sentiment. But I didn't like it at all, and it took away from the beautiful ornament. So I improvised and added some gold sequins to cover it up (I think a row of gemstones would look lovely here as well!).
I put it right in the upper center, and then gold heat embossed some pine branches around it, with a stamp from the coordinating stamp set. This helped frame it on the card and give it the illusion it was on a Christmas tree. I thought about adding sequins or something, but I liked it just as is!
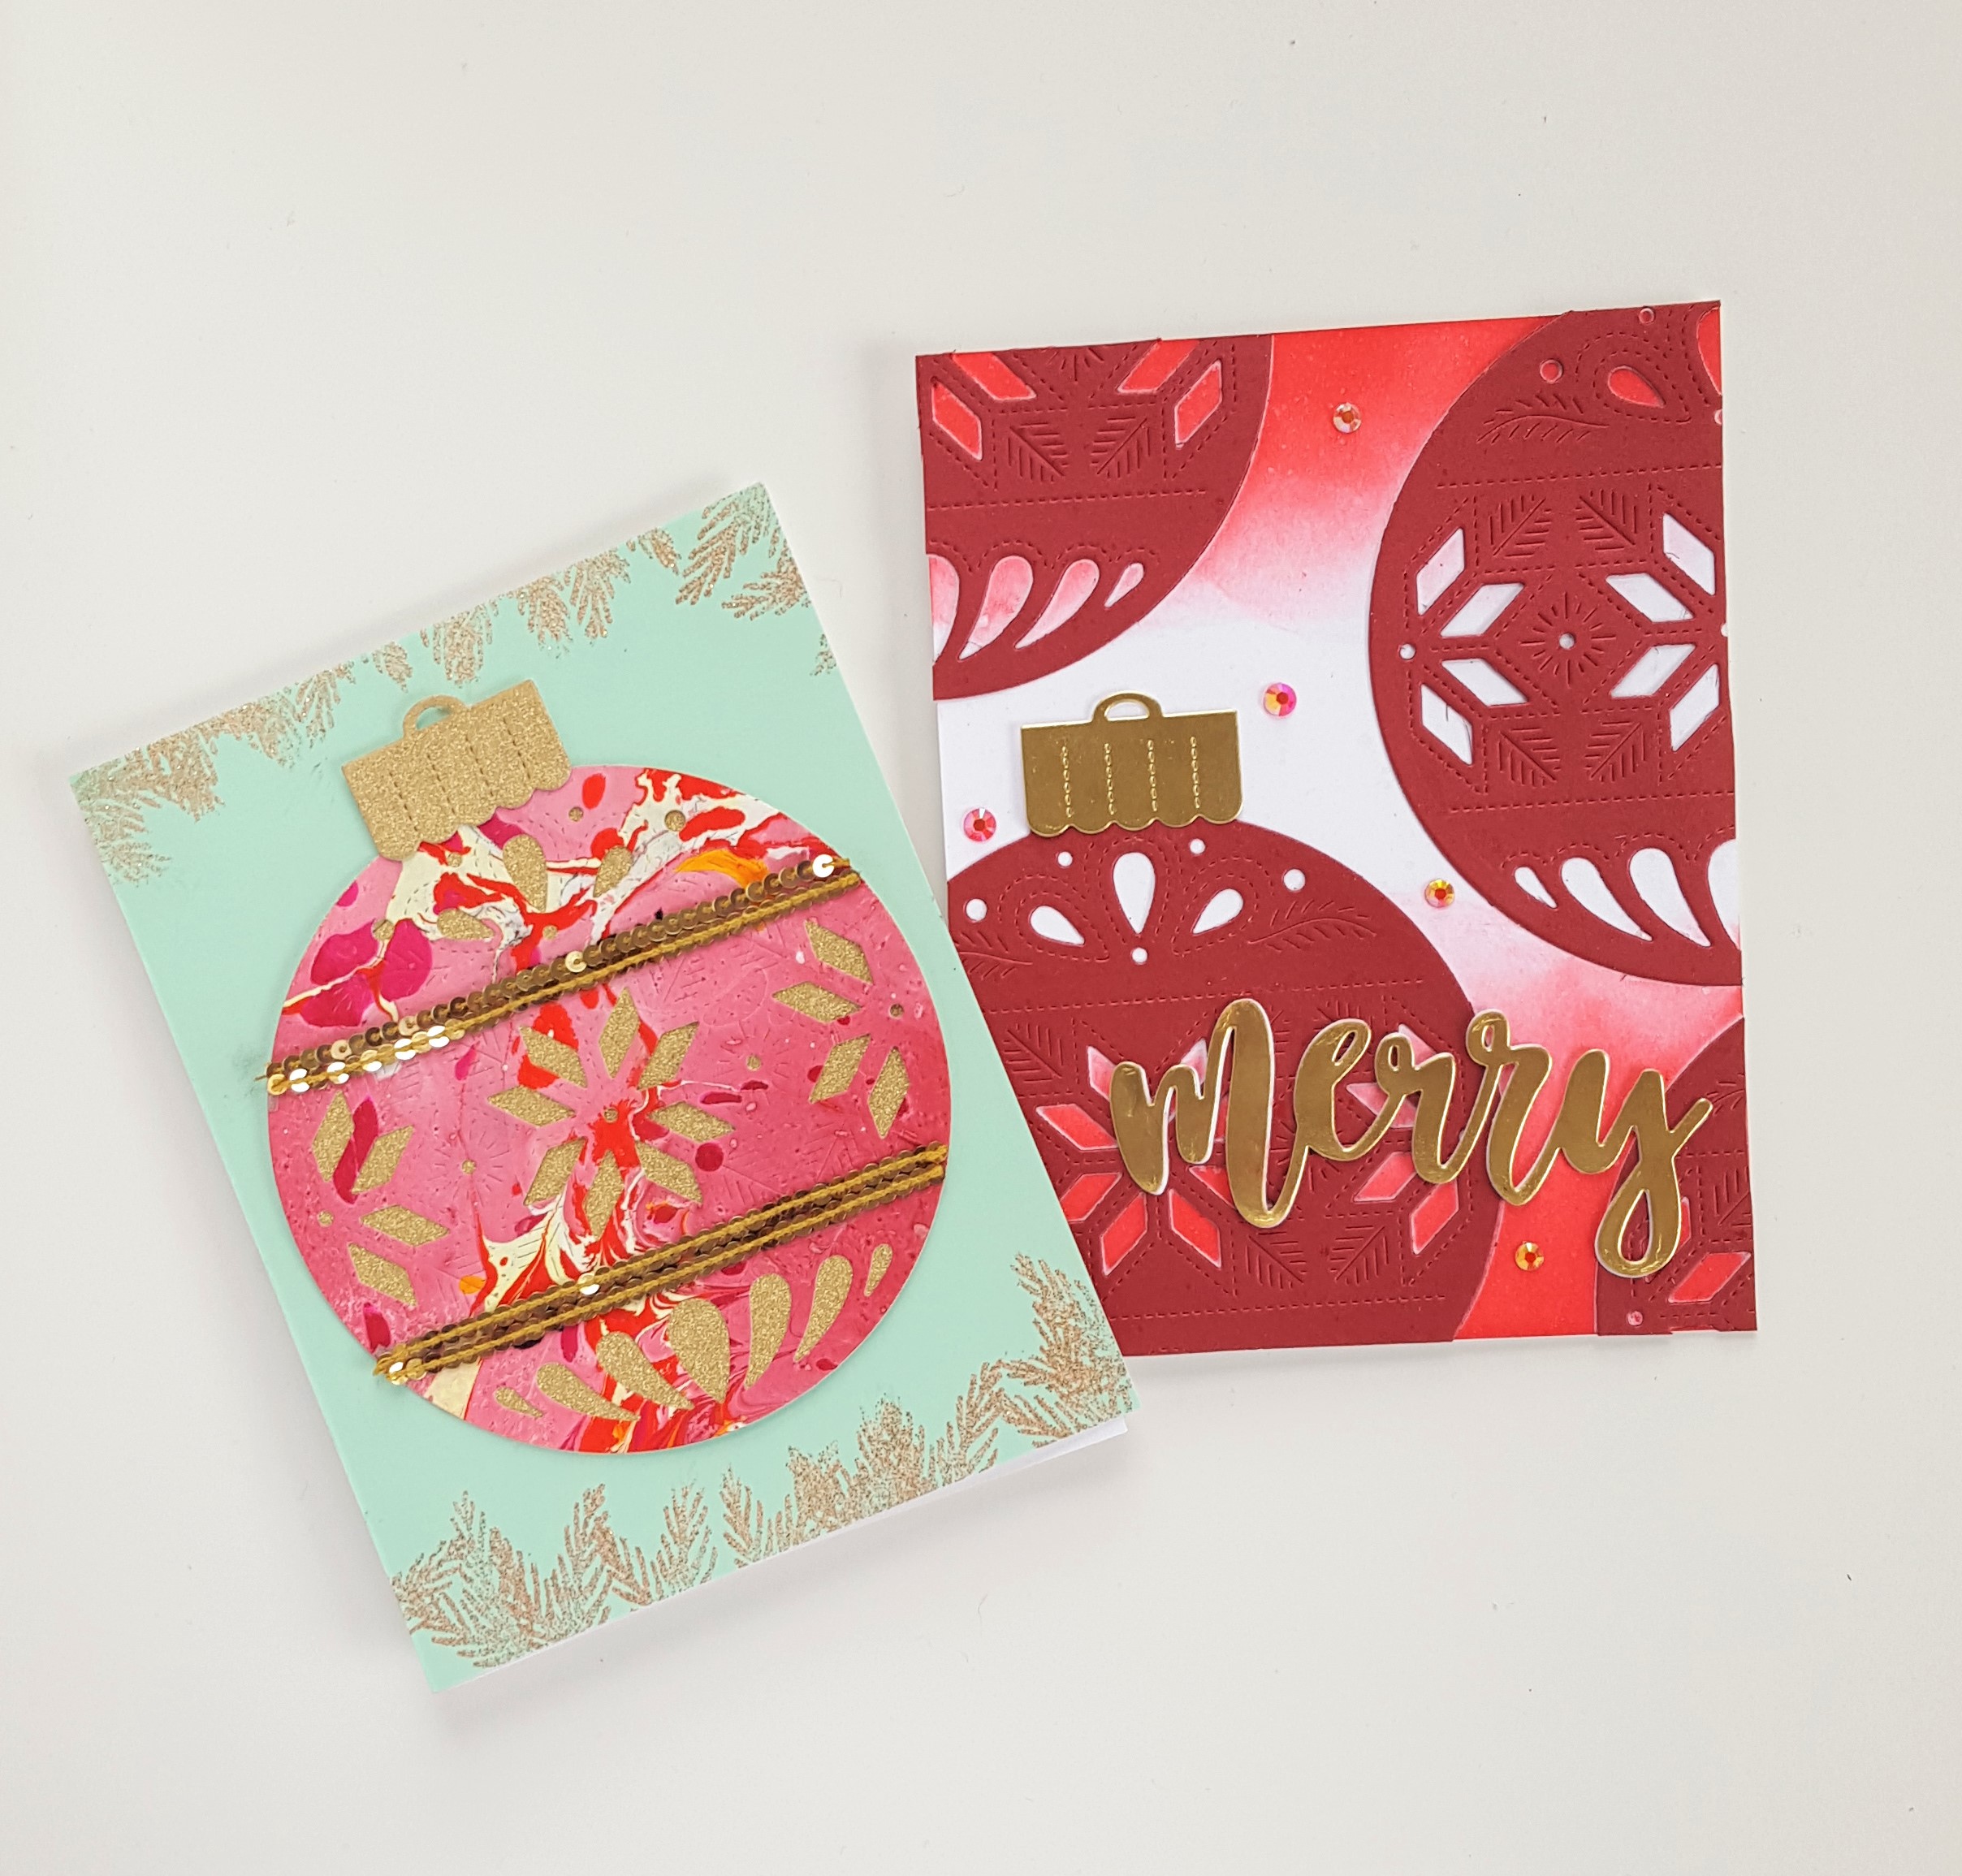
For my second card, I decided to die cut the ornament twice from crimson shimmer card stock. I die cut the ornament topper from gold mirror card stock. All I did for this card was place one ornament as the main ornament, and then placed second one staggered up higher. I then used the pieces I trimmed off to fill in the rest of the space so we have a background of ornaments. This is another way to use large dies - stagger them and have them off-center to create a bold background. I added the ornament topper, and then die cut "merry" from gold mirror cardstock as well. Before I adhered the sentiment, I did some basic ink blending with Festive Berries on the top and the bottom. I added a few red gems from Lucy's Cards and that it was it! This card took less than 15 minutes!

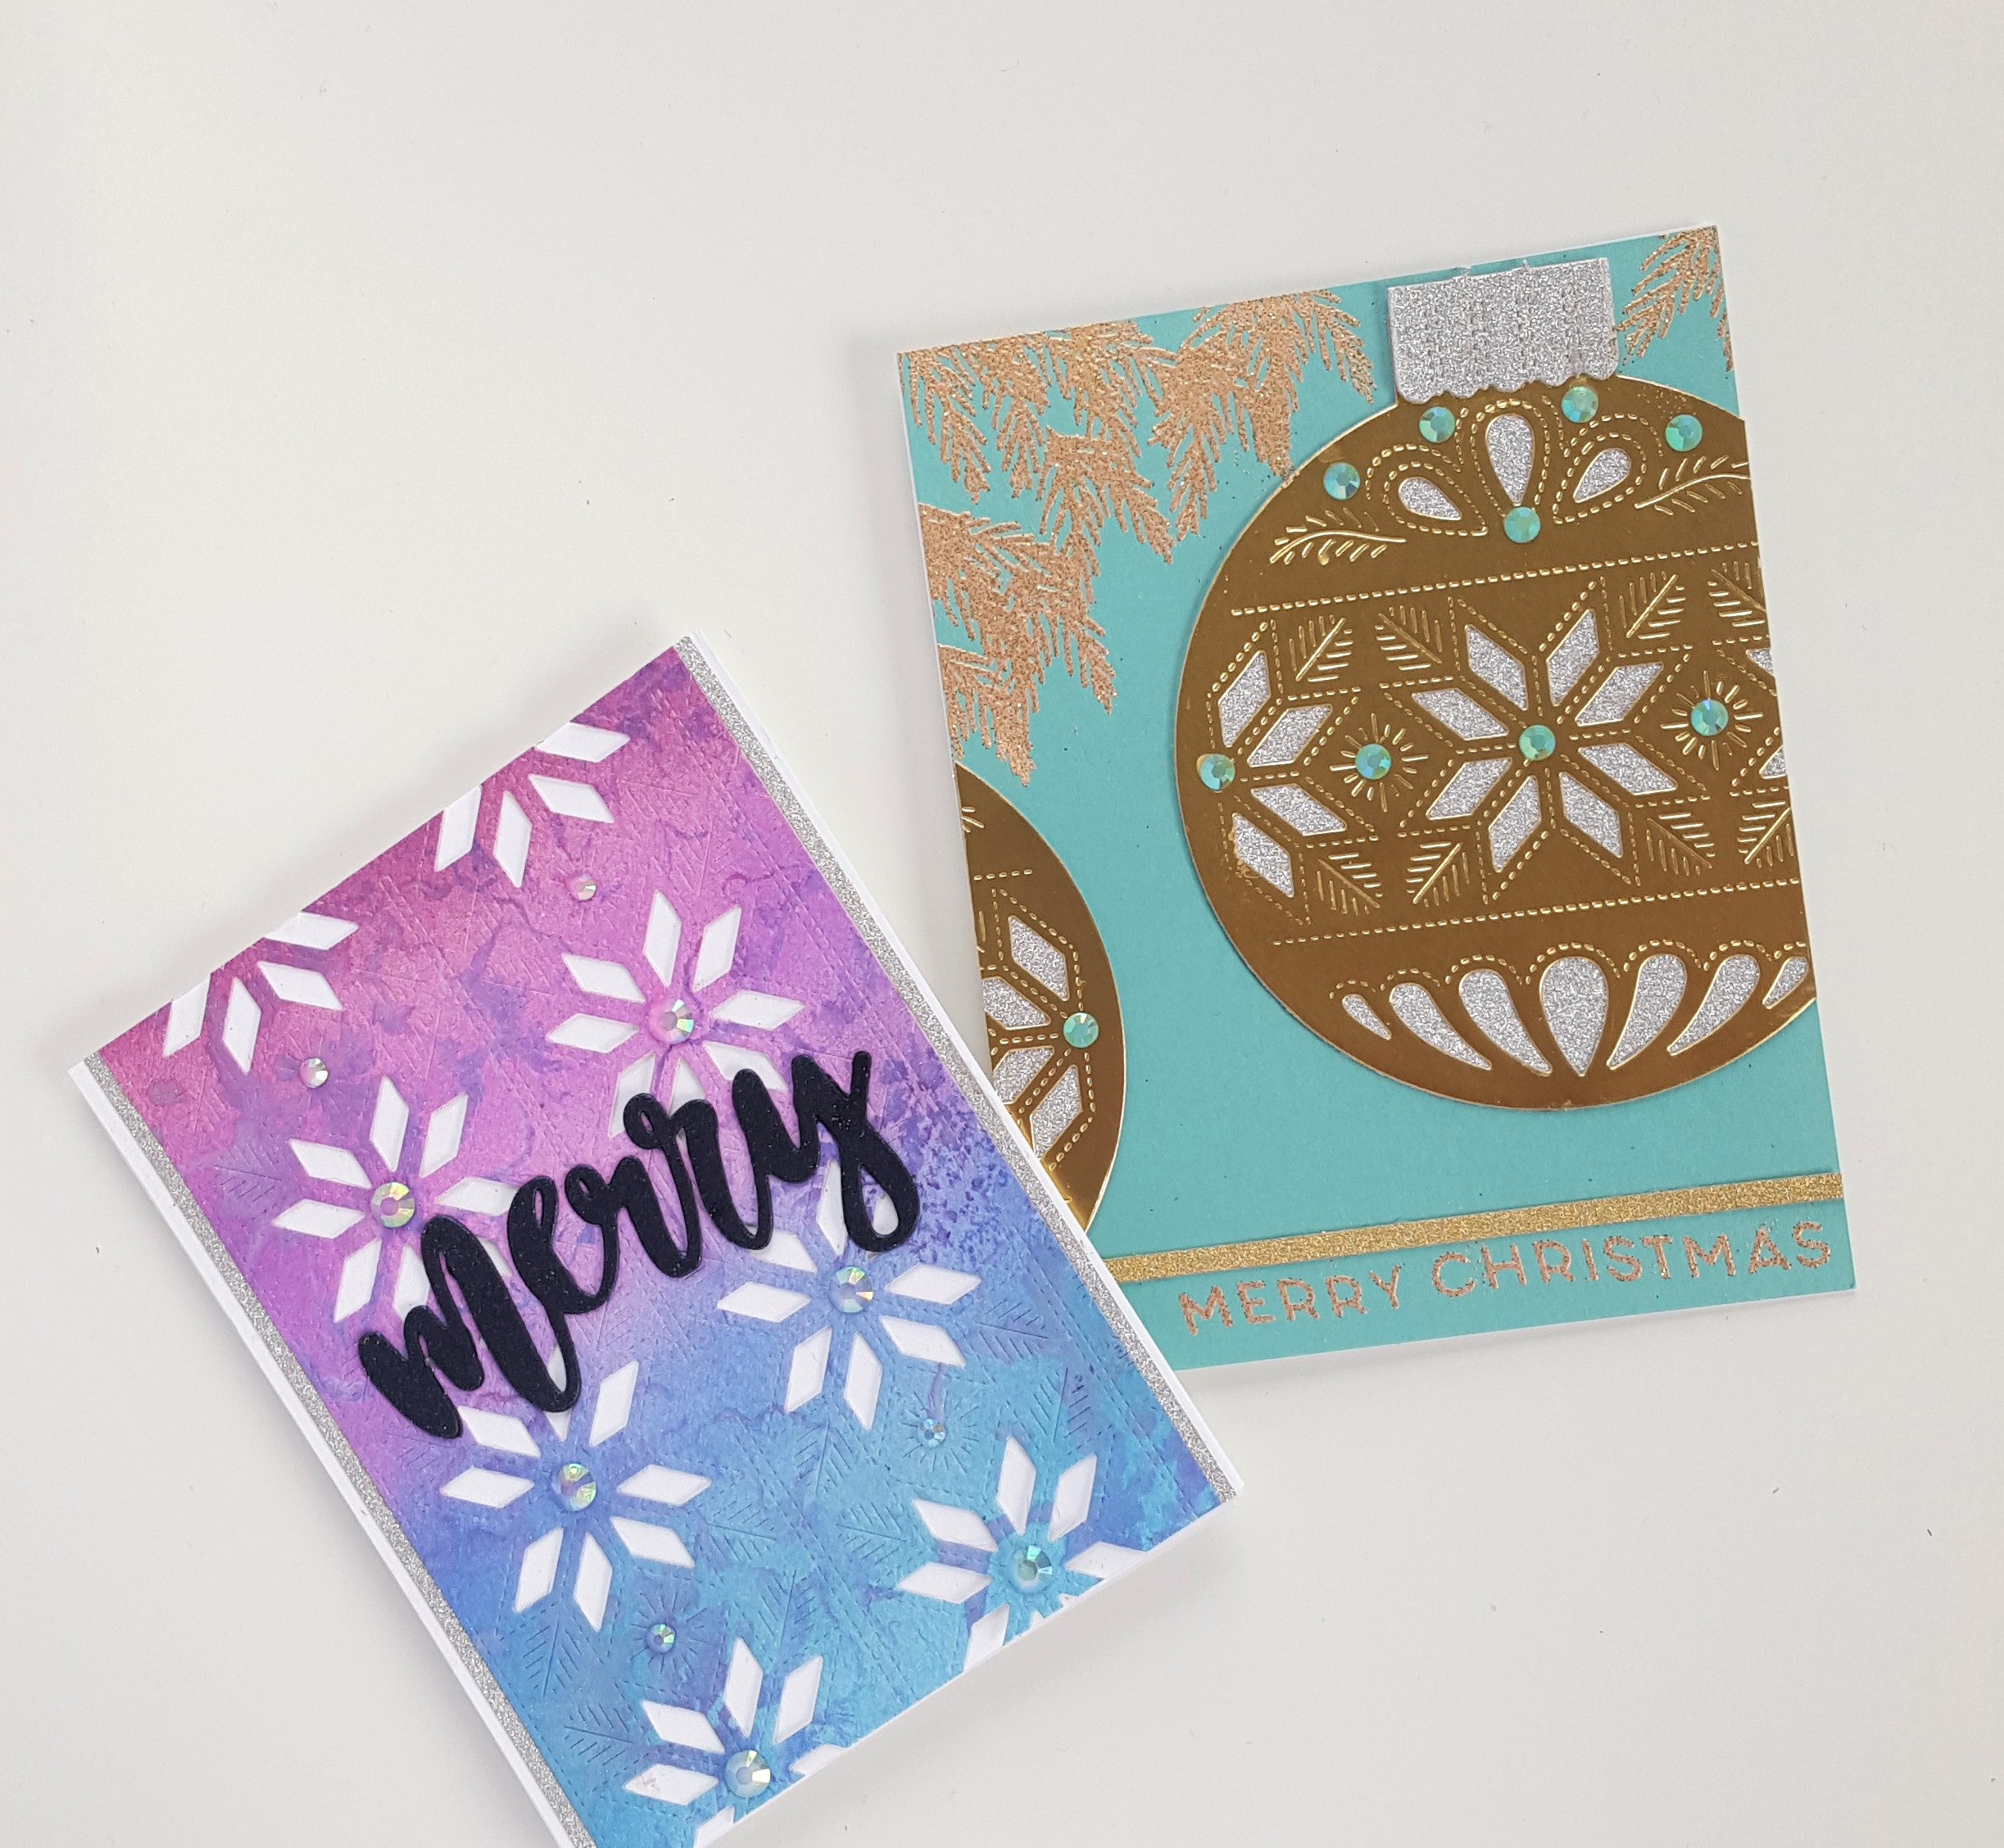
For my third card, I did the same staggering technique, except that instead of creating a background, I used one ornament as the focal point and just had barely a sliver of another peeking on the edge. Because the focal point was only in the right hand corner, I wanted this ornament to be *really* special. So I die cut the ornament shape from silver glitter card stock and then die cut the patterned ornament from gold mirror card stock. I then added gems in each of the dots for added interest in our focal point.
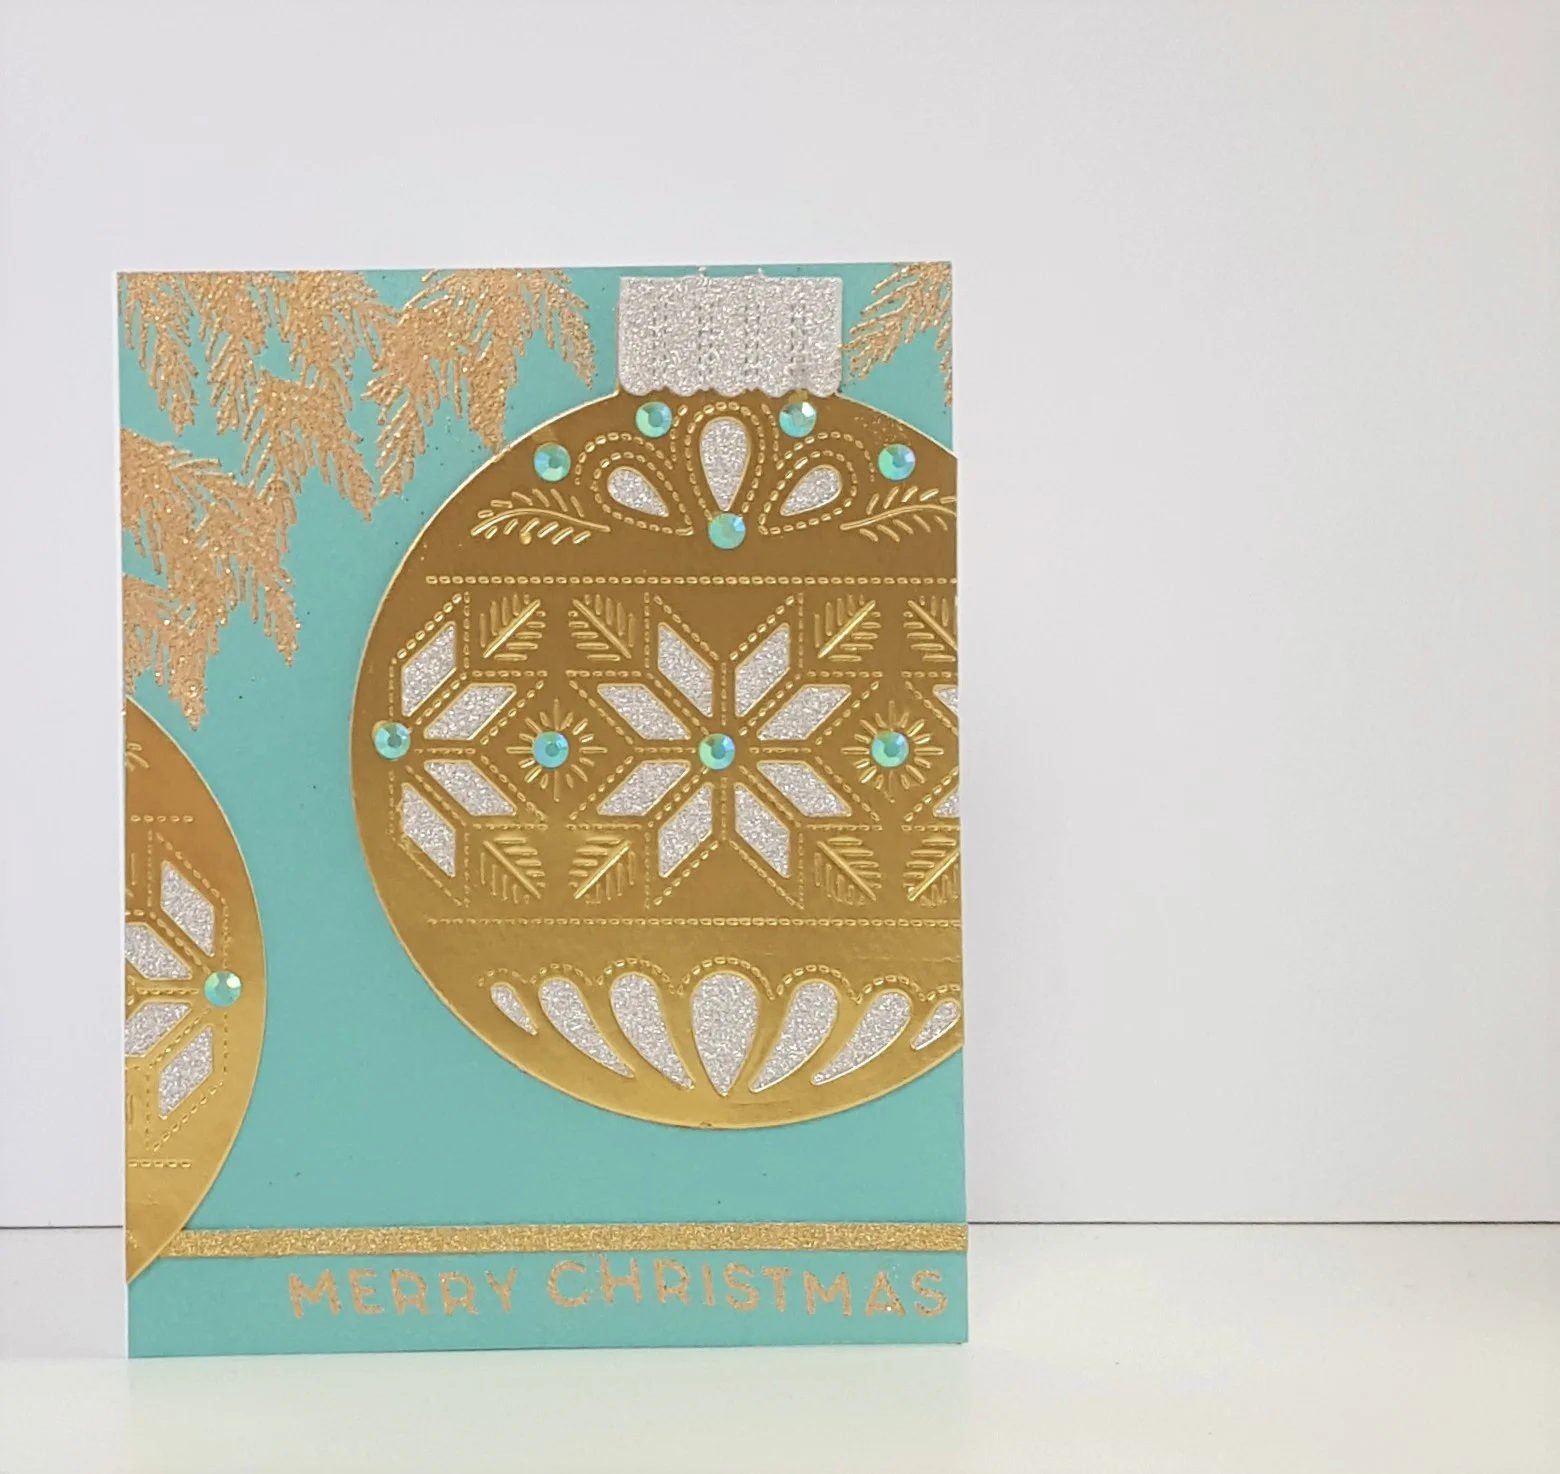
I then heat embossed the pine branches again to make it look like it was on a tree. I added a strip of gold glitter at the bottom to help delineate the sentiment, which was also in gold. I think if I did this card again, I would have white heat embossed the sentiment. But otherwise I adore this card!

For my last card, I decided to use only the decorate elements of the ornament instead of using them as a whole as an ornament. This technique is a great way to get more out of your dies that have separate dies to build up into a main image.
First, TIP: This die comes attached with little wires, like many dies. However it is attached together to perfectly create the patterned ornament, so before you cut apart your dies for different techniques, I recommend die cutting it from scrap card stock as is, all hooked together. Then, save this as a template for perfectly re-creating the patterned ornament. Pop the individual dies into place on the template so they're perfectly spaced, and then temporarily tape them together to use as one die for your project that day. I keep this template in the same pocket as my stamps and dies.
So, for this card, I used the center decoration from the ornament, and die cut it repeatedly from watercolor paper I had watercolored on. I lined it up against the edge, and then lined up the die edge-to-edge for each reiteration, making sure it was even with cuts horizontally as well as vertically. I then trimmed it down a bit and adhered it to the front of the card. I die cut the "merry" from dark blue cardstock, and then put clear gems over each of the dots for a pretty winter look.

I also want to use this separate die as a border on an envelope or just the edge of a card! There's so many ways to use this die set - it's gorgeous and versatile, I highly recommend this! Be sure to head over to Concord and 9th's blog to see all the other inspiration.
Thanks so much for stopping by!
xoxo Meghan